Getting Started with Member Portal
is a situational awareness platform and is used to share human-readable threat alerts, created by analysts or automated. Information in alerts is from deployed security tools such as threat intelligence platforms (TIPs), SIEMs, ITSMs, internal sources, and external sources such as regulatory bodies, CVE or NVD databases, and RSS Feeds.
The following illustration shows the workflow in :
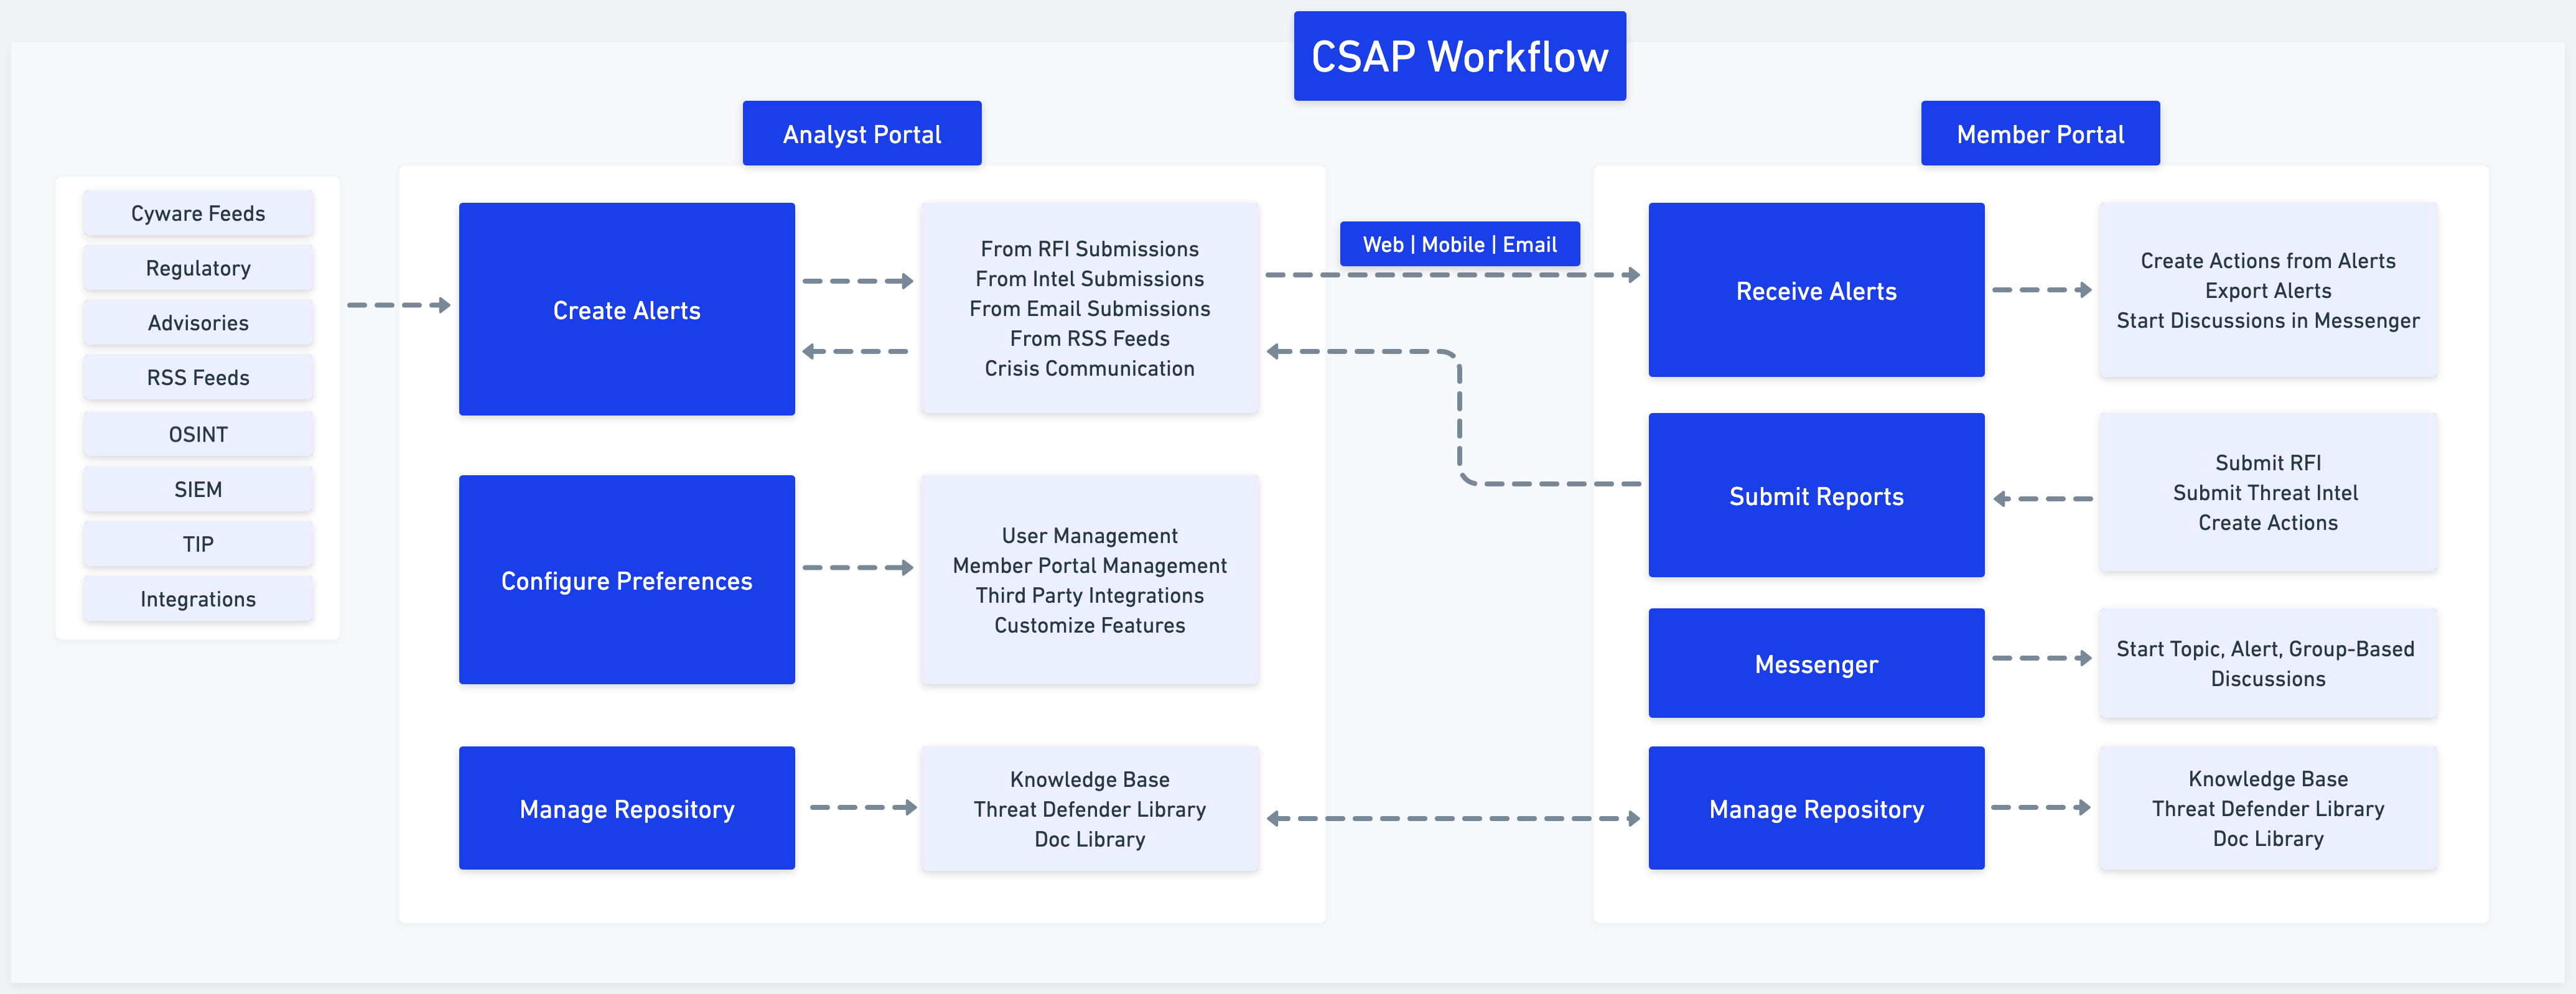
Receive Alerts
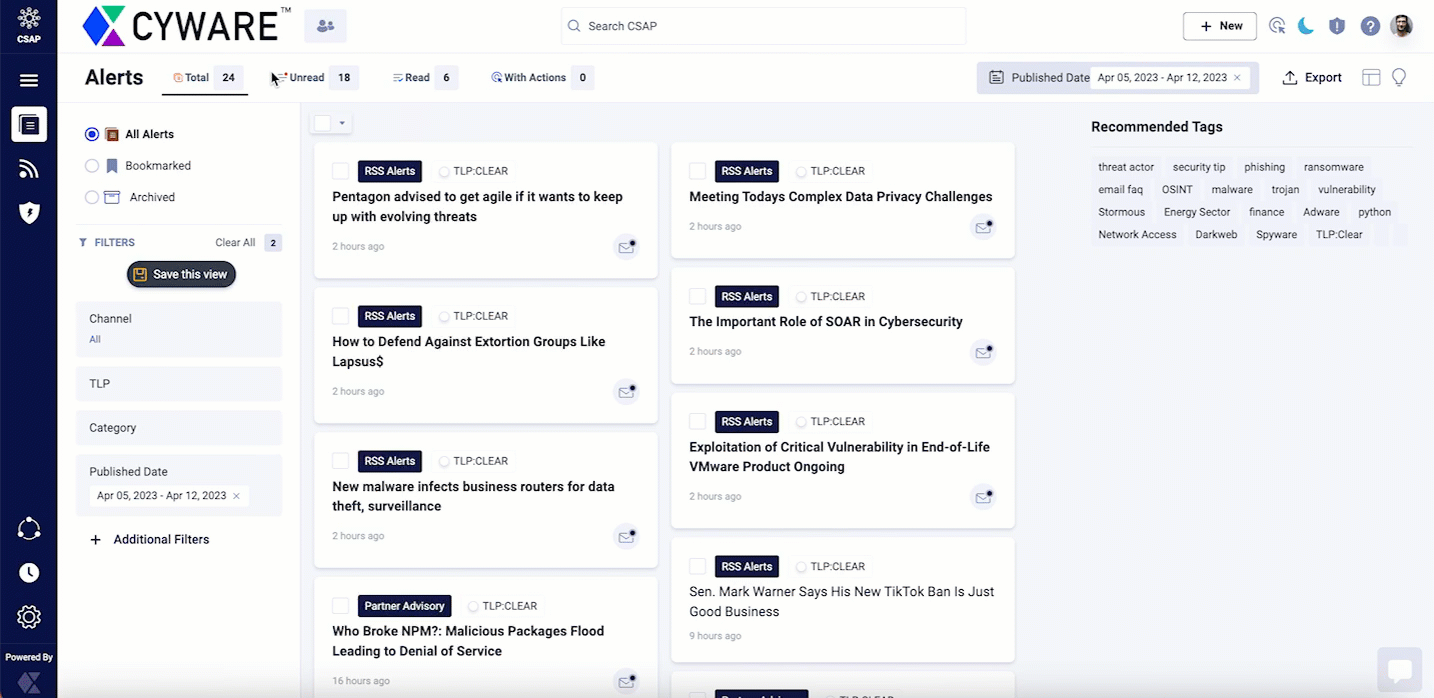
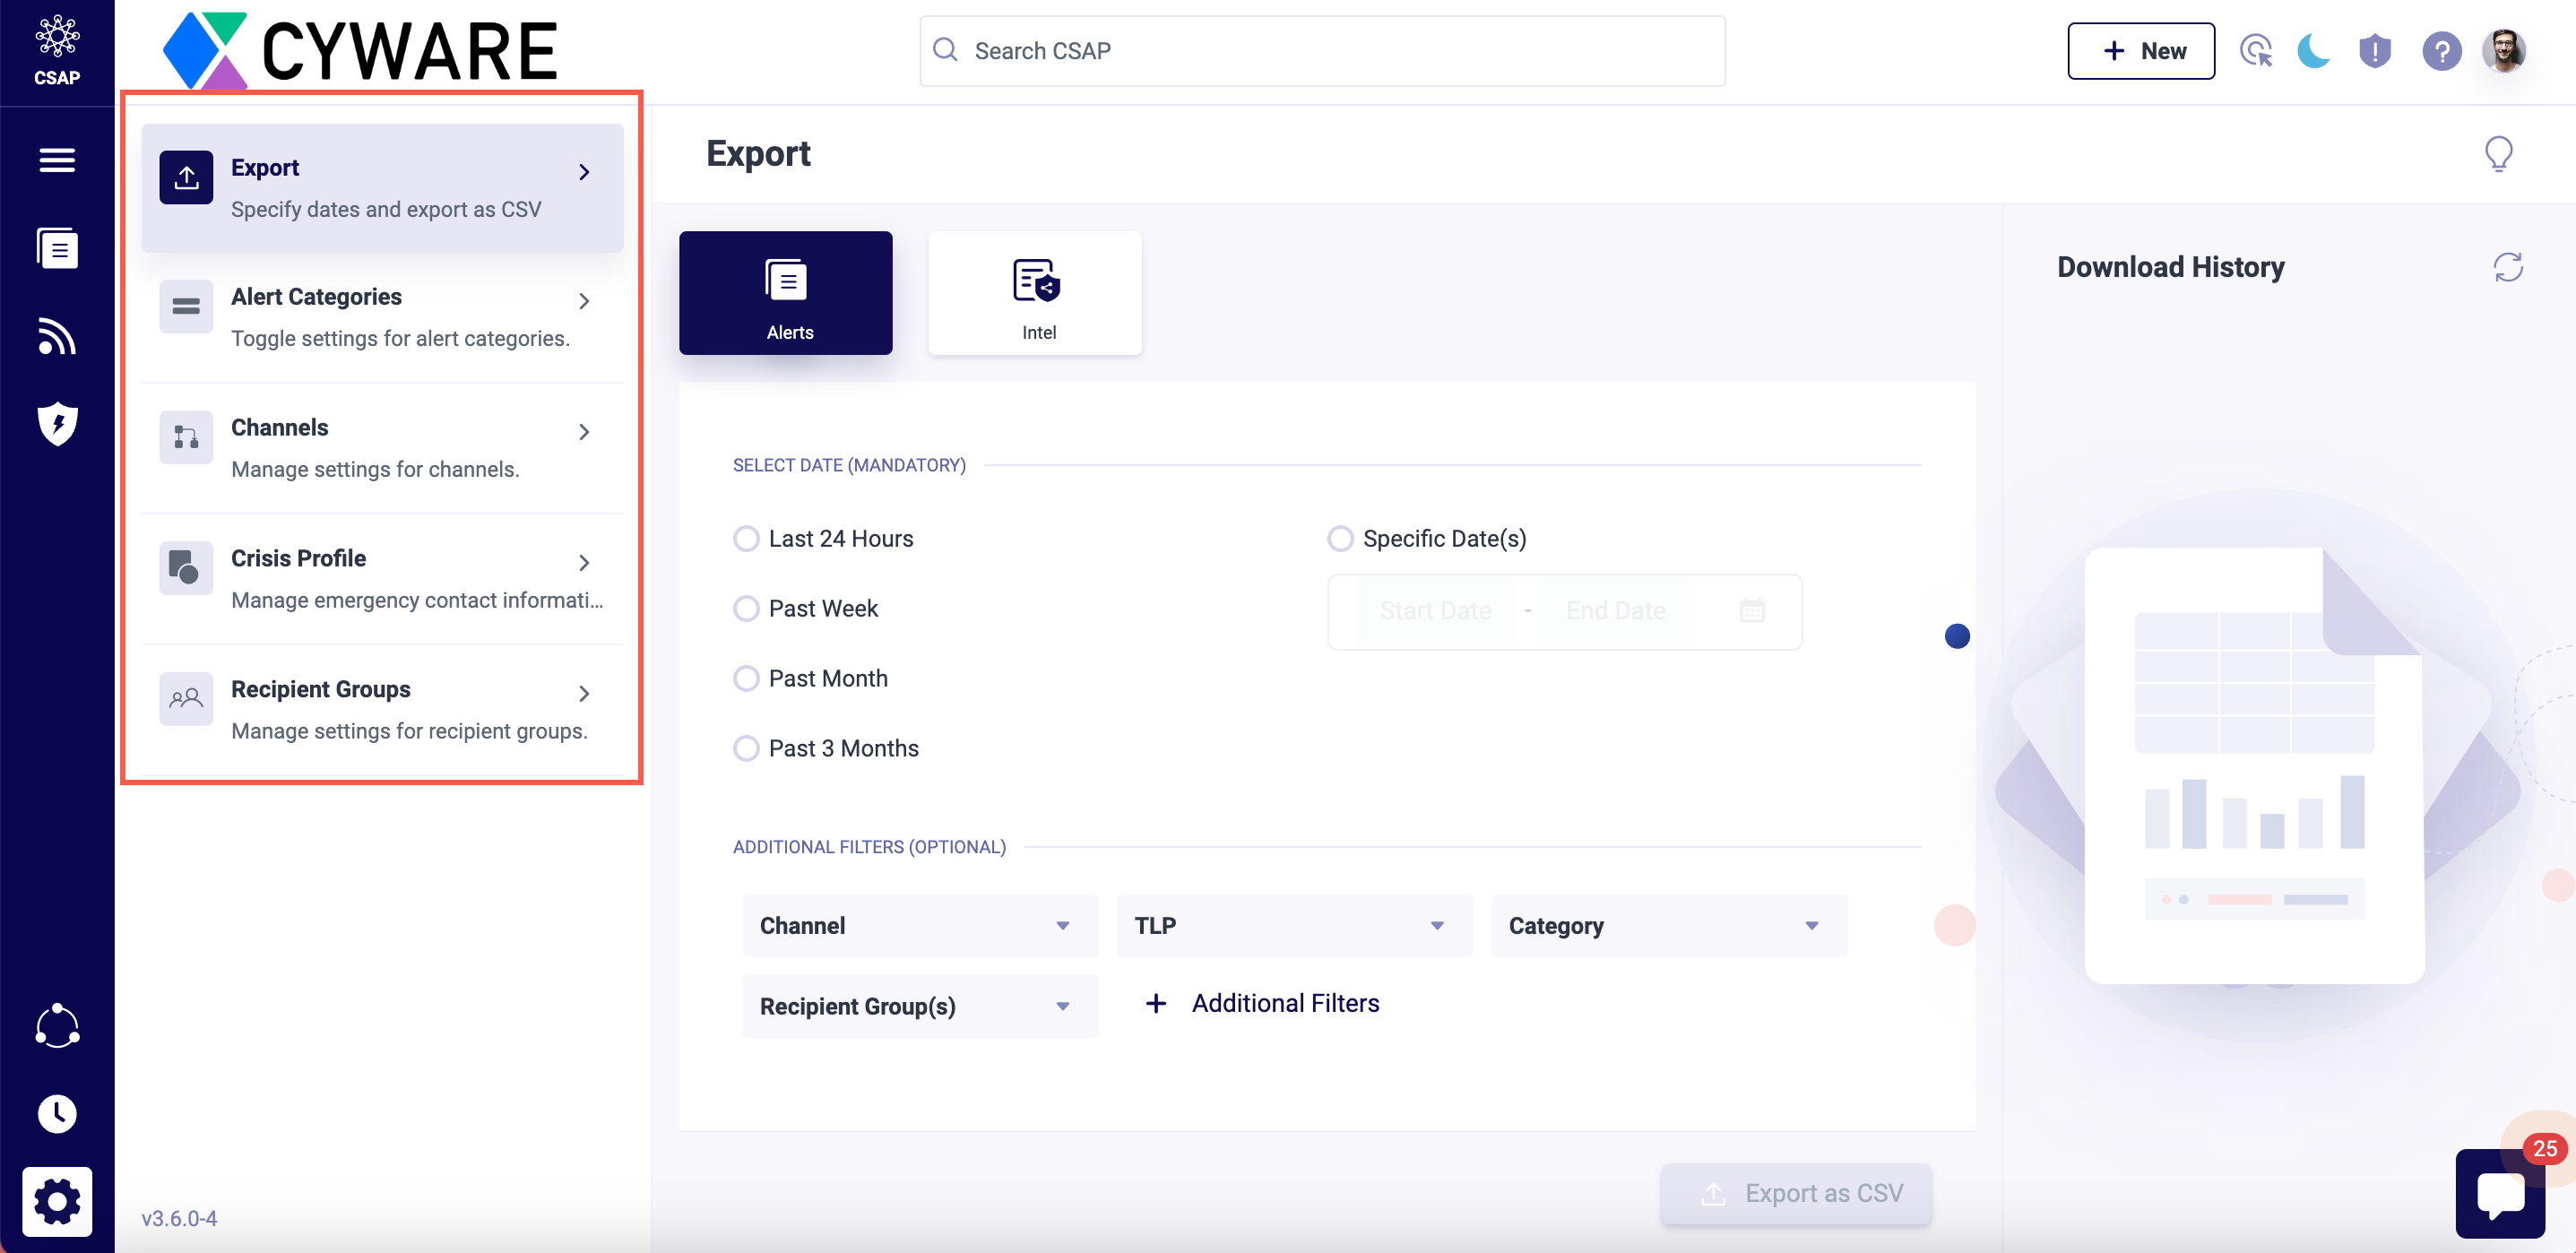
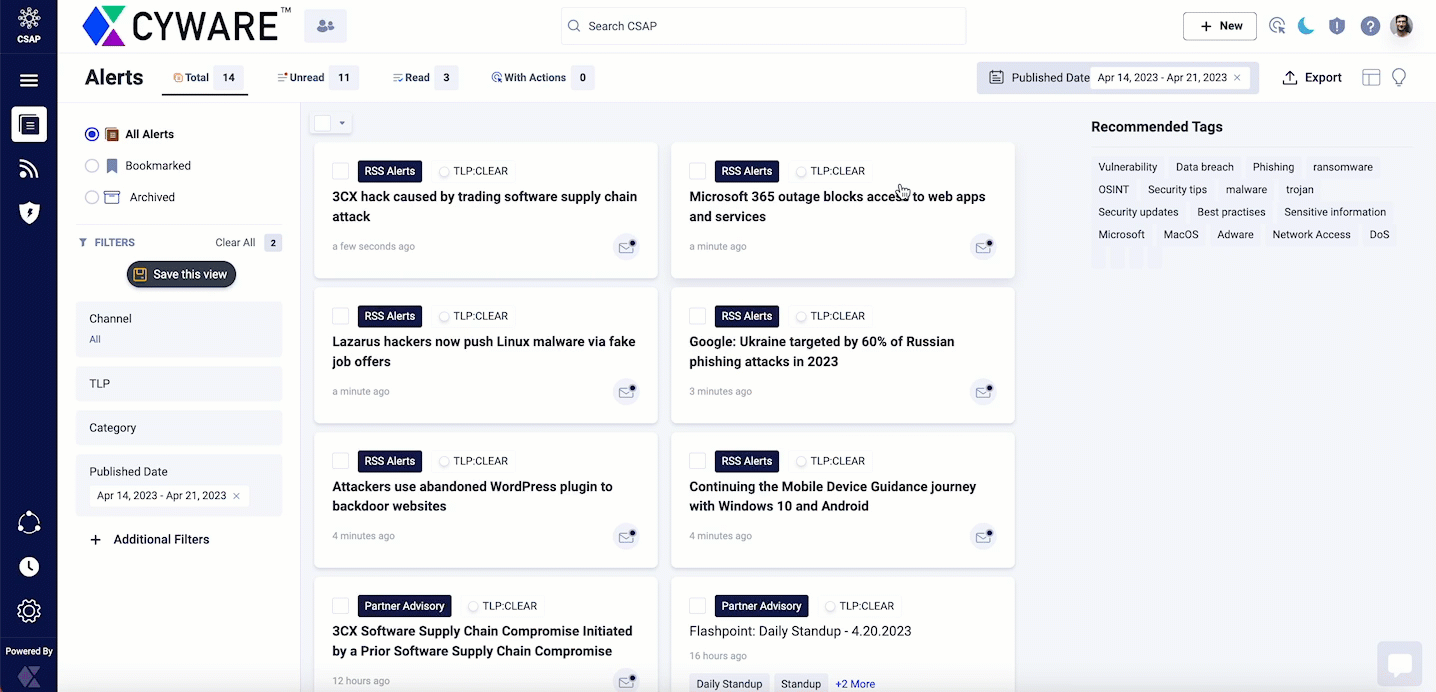
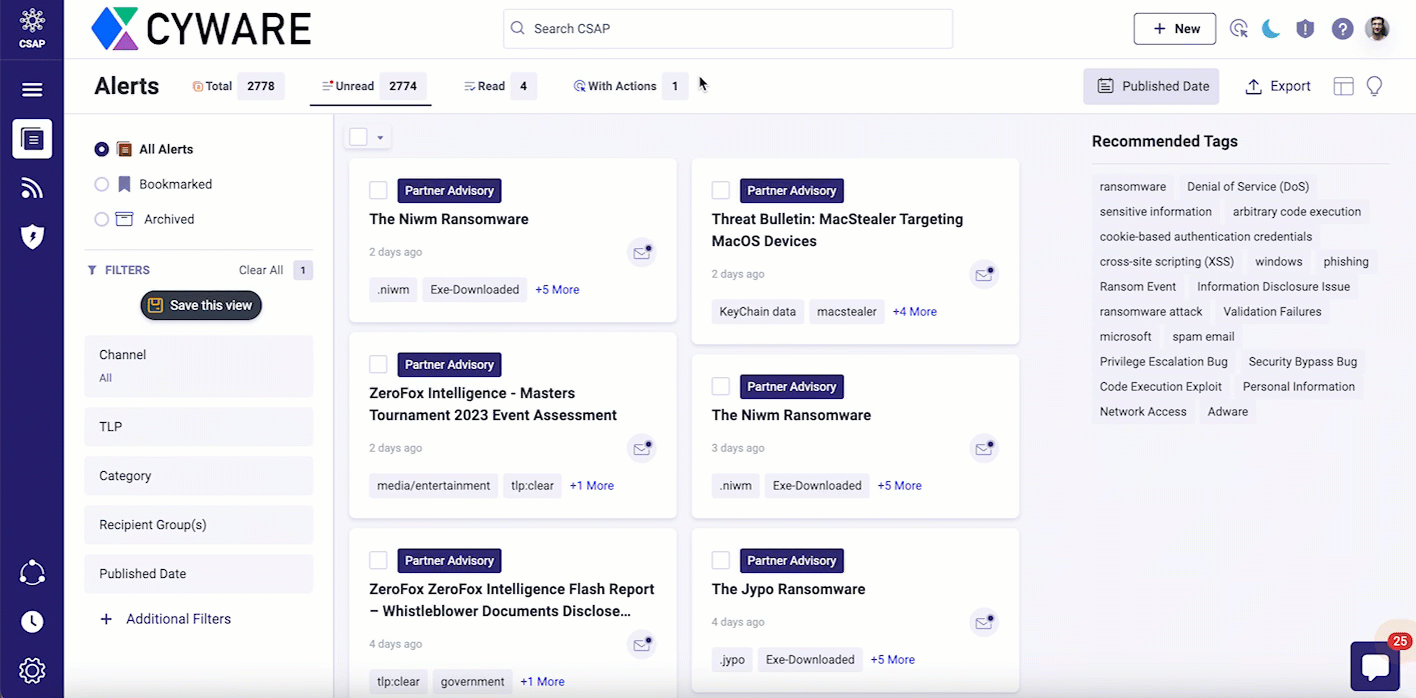
Receive real-time situational awareness alerts that inform you about the latest updates in the threat landscape. Additionally, create actions from alerts and assign them to other members, export alerts for offline analysis, and start alert-based discussions with other members using the Messenger feature. For more information, see Alerts.
Submit Reports
In the Member Portal, submit reports in the form of threat intelligence and requests for information (RFI). Submit threat intelligence that you think will enrich the information sharing in CSAP. Use Threat Intel feature to submit threat intelligence to analysts. After the information is reviewed, it can be shared as an alert by analysts. For more information, see Share Threat Intel. You can also use the RFI feature for queries, and submit reports for information. Analysts can also publish alerts from RFI submitted by members. For more information, see Submit RFI.
Messenger
The Member Portal includes a secure and dedicated messenger that allows members to collaborate, create groups for discussion, and start discussions based on topics. You can also leave suggestions, and messages, and view the responses of other members in the discussion. For more information, see Messenger.
Manage Repository
View and contribute to a vast repository of information including various files, folders, documents, attachments, pictures, videos, or any other media information. The information is used in alerts, sharing content, or collaborating with different team members.
Use and add to the content in the Threat Defender Library for threat detection, threat hunting, or threat remediation. For more information, see Threat Defender Library.
Access a self-service library of knowledge-base articles to improve self-service, give greater access to more articles, and offer regular updates. For more information, see Access Knowledge Base Articles.
Additionally, you can also access and upload text, image, audio, and video files in the Doc Library and use the media while submitting threat intelligence and RFIs. For more information, see Doc Library.
Learn all about the administrative features in the Member Portal to manage members and other settings.
Manage Members: Add members and edit member details. You can configure primary details, notification preferences, email subscriptions and many more options.
Manage Requests: If a member wants to join a recipient group, they can request to do so. As a member admin, you can manage these requests.
Manage Organization Settings: Upload your organization logo, and add organization details, domains, and IP addresses.
User Interface Overview
This topic provides an overview of the common elements of the CSAP Member Portal User Interface (UI). The common UI elements are placed in the side menu bar and the top bar.
Side Menu Bar
The side menu bar on the left of the Member Portal UI provides access to all features and the settings for quick access. Users can customize the side menu bar to quickly access frequently used features.
The important elements and functions of the side menu bar are:
Menu
You can access all modules of the application from the menu. The modules are categorized into the following groups:
Reporting: Request information from analysts and submit threat intelligence from the reporting capabilities in the Member Portal. Analysts can create alerts out of submissions and RFIs.
Configuration: Access the member directory, organization directory, ATT&CK navigator and indicators allowed for your organization. The configuration capabilities help you use the Member Portal and utilize the information available to you.
Knowledge Center: Groups the modules that allow analysts to create and store the content of different types such as Doc Library, Knowledge Base, ATT&CK Navigator, Allowed Indicators, and more.
You can perform the following activities to manage the modules in the menu:
Collapse or expand the groups.
Pin a module to the application navigator for quick access.
 |
Settings
Settings in the Member Portal includes all the features and configurations you can access as a member. As a member, manage alert channels, categories, crisis profiles, and recipient groups in the Member Portal.
 |
Top Bar
Members can quickly access the features such as quick submissions stack, opened module tabs, global search, my task, background processes, notifications, help, and my profile from the top bar.
The features and functions of the top bar are described in the following table:
Note
Due to ongoing improvements and upgrades to the user interface, there may be variations between the images and the current user interface on your instance.
Recipient Group Filter Select a recipient group to view corresponding filtered results for alerts, Doc Library content, Knowledge Base articles and other features. | 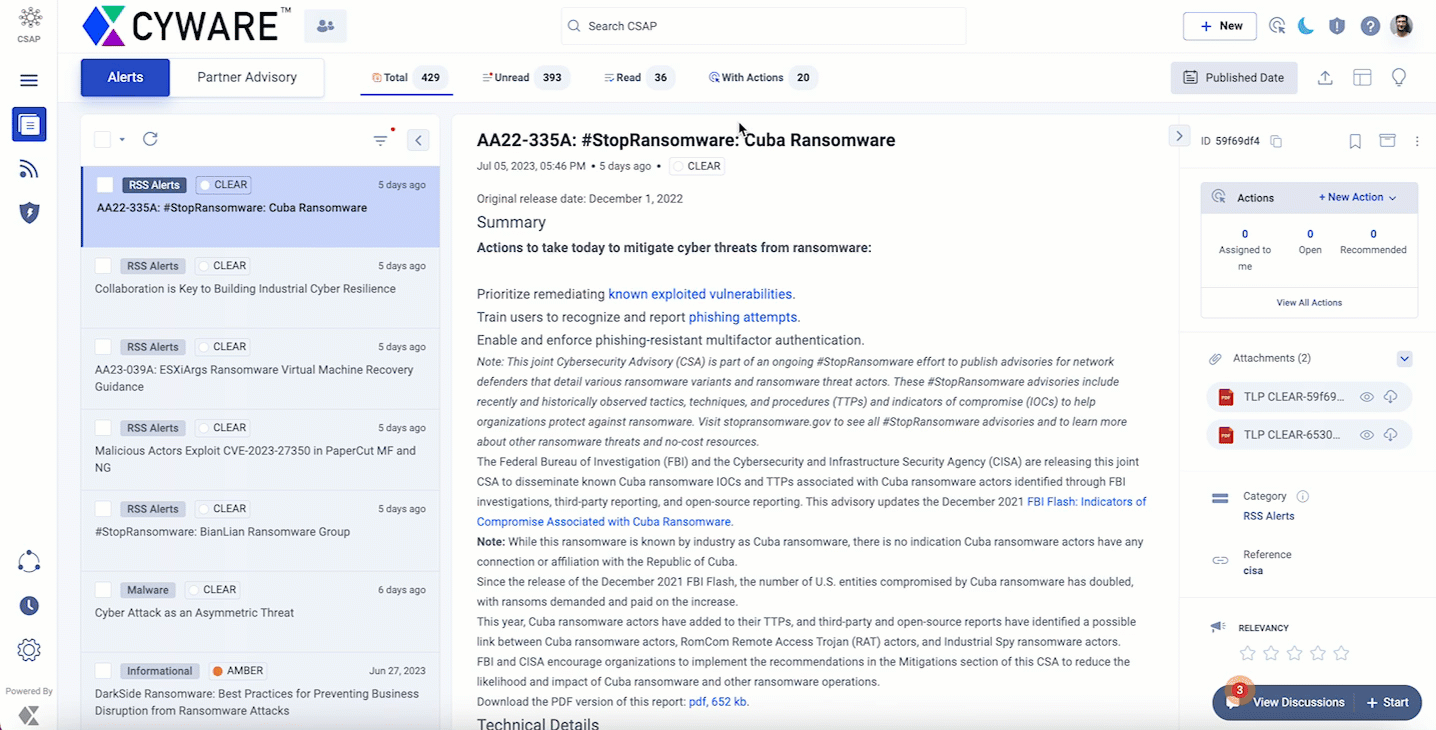 | |
Global Search Search for alerts, Doc Library media, Knowledge Base articles and other features in the Member Portal. You can save the search keywords you have used in global search. Additionally, you can also share links to your saved searches with other members over any platform. Clicking this shared link opens a new window with your search keywords and the corresponding search results. |
| |
Quick Submissions Stack Create actions, submit threat intel and RFI, and make collaborative notes with other members of your organization. |
| |
Actions View actions assigned to you and created by you. You can also create actions and assign them to members. |
| |
Dark Mode Switch between dark and light modes. |
| |
Threat Level Shows the current level of malicious threat activity and reflects the damage caused by them. |
| |
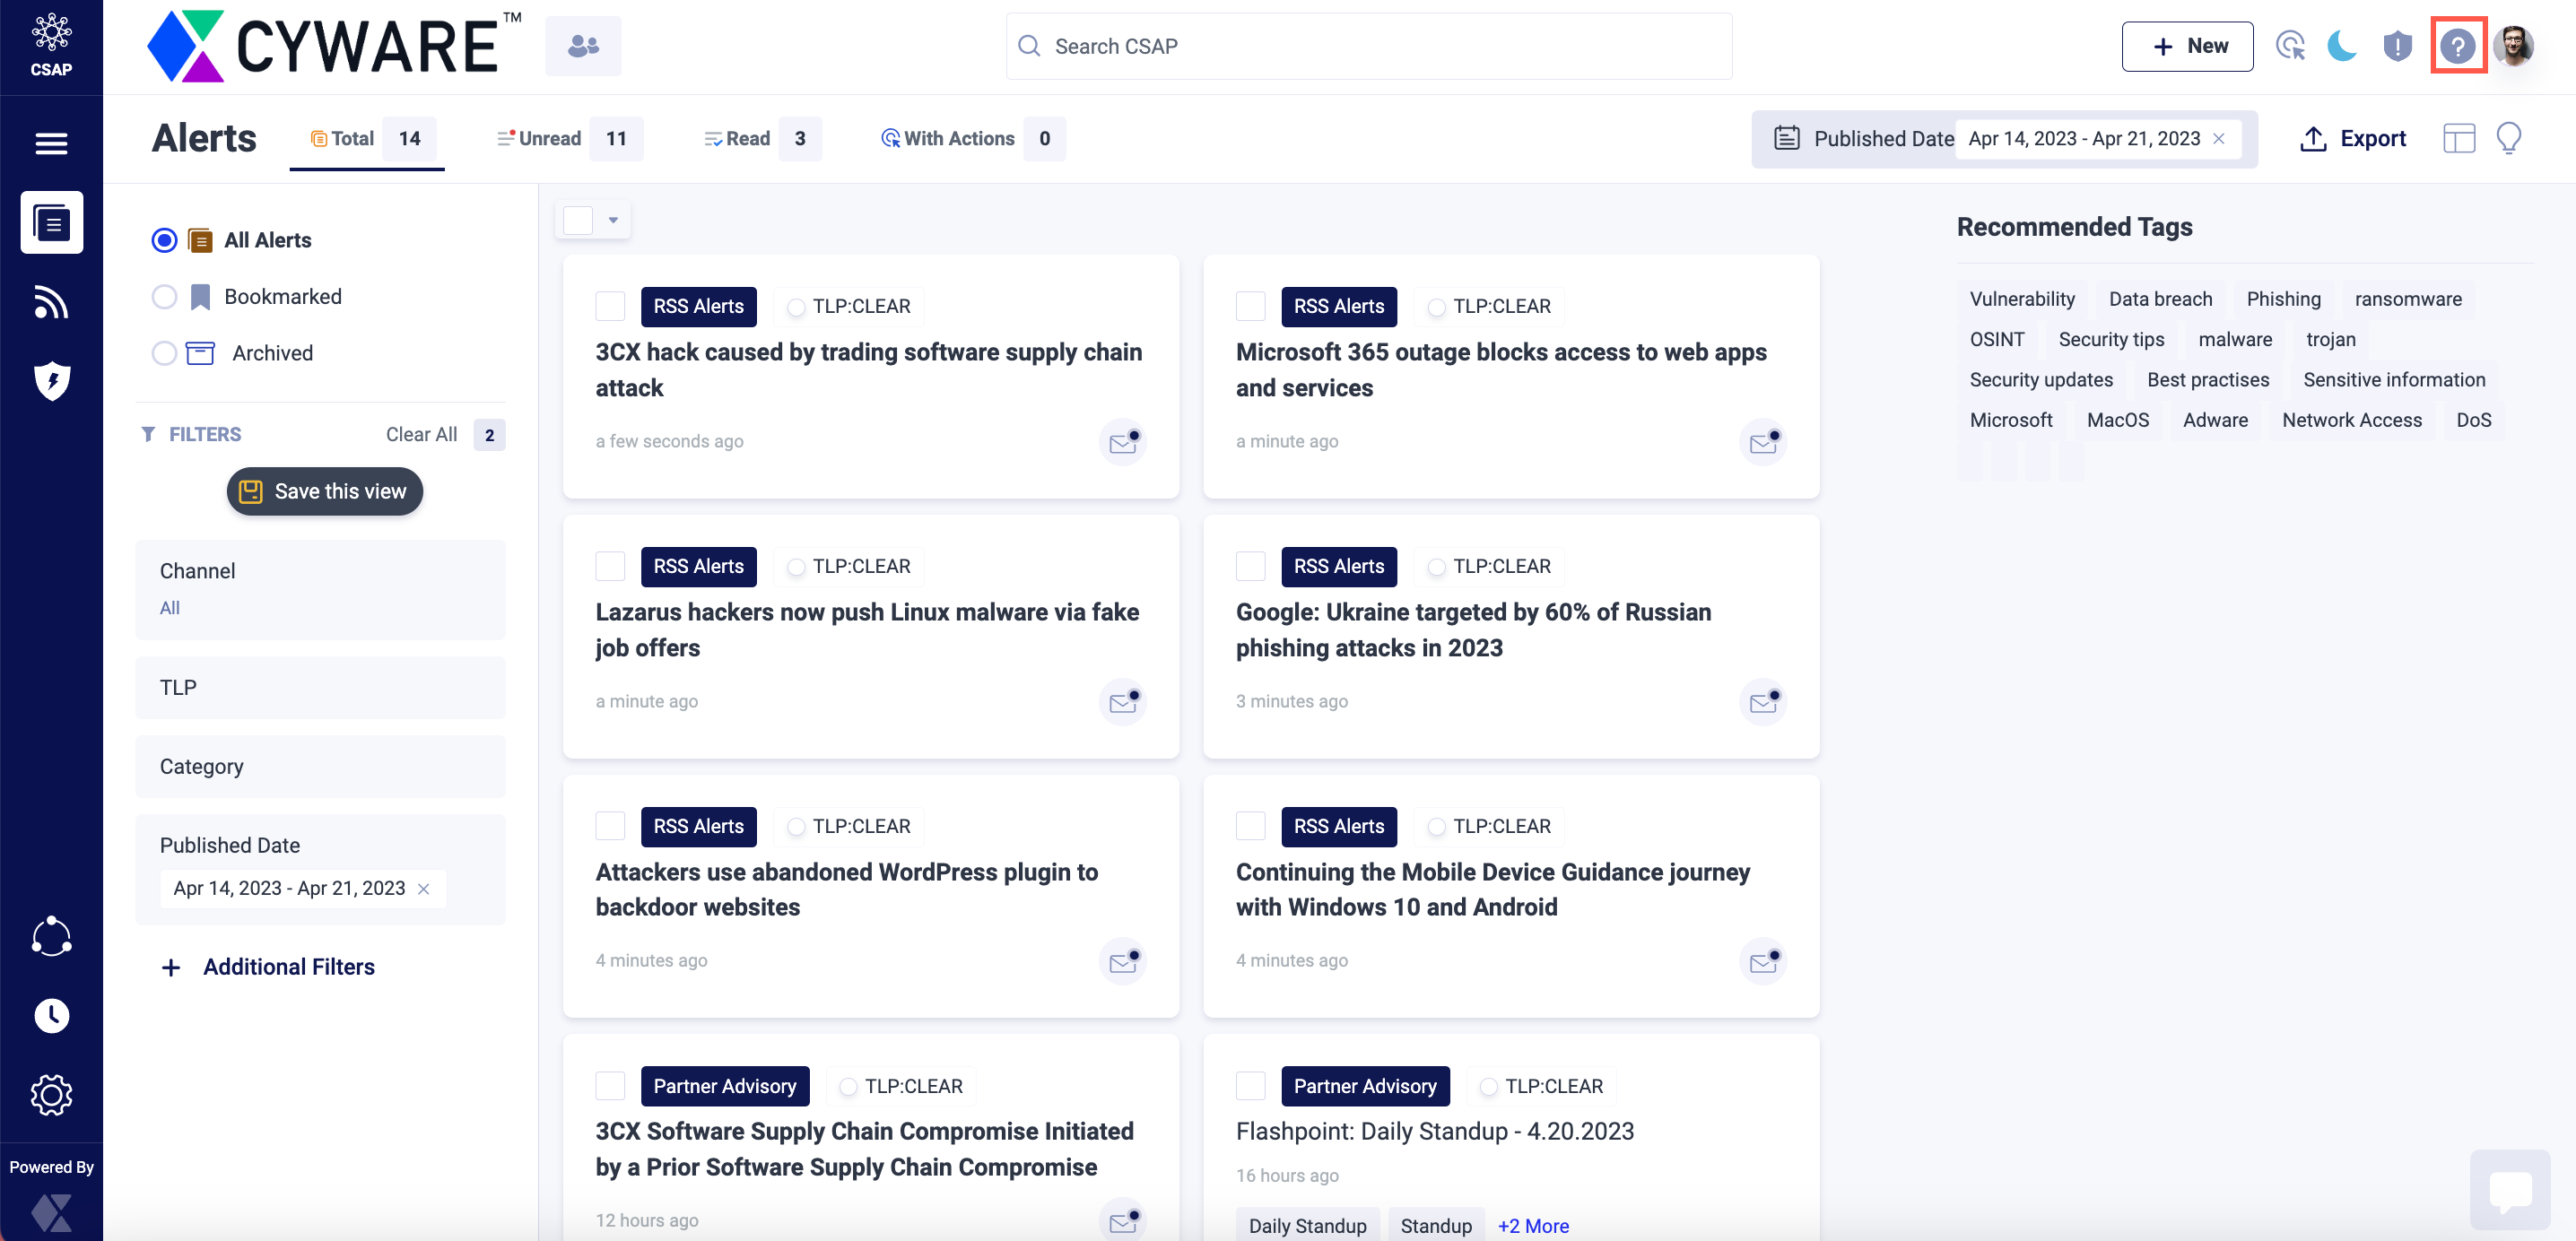
Help Get help and learn about the application by accessing product walkthroughs, video tours, product documentation in the help center, and API references. |
| |
User Profile View and manage your profile details |
|


Member Profile
The user profile gives you a holistic view of your personal information and activities performed within the application. You can also set a few preferences specific to your user such as email subscriptions in the Member Portal.
Manage Member Profile Settings
View and manage your profile details on the Member Portal by clicking User Profile > Profile Settings. Click Edit to update your profile details and click Save after making the changes. Profile Settings has the following sections:
Add Preferences
Configure your profile preferences in this section. Use the following information while configuring your preferences:
Click Upload to upload a profile picture in .png, .jpg, or .jpeg formats with a maximum file size of 2 MB.
Turn on the Show My Profile in Member Directory toggle to display your user details in the Member Directory and be available for task assignments through the Actions module. If you deactivate this setting, your details will no longer be visible in the Member Directory, and you will not receive assigned actions.
Note
To view this flag in the Member Portal, it must be enabled from the Analyst Portal. For more information, contact your administrator.
Turn on the Allow other users to send me direct messages toggle to allow or block other users from sending you direct messages in the Member Portal Messenger.
In Default Page Limit, choose and set the default number of records that are shown on a page at a time for all features in the Member Portal.
In Default Channel upon login, choose and set the default alert channel that you see when you sign in to the Member Portal.
In Default 2FA Method, choose your default two-factor authentication (2FA) method.
Note
Administrators in the Analyst Portal can choose one or more 2FA methods from Email, App, and SMS for members to sign in. From these options, you can choose one option as your default 2FA method. If the administrator has selected only one 2FA method, you cannot choose a Default 2FA Method and this option is not available.
Configure Default 2FA Method
To set a default 2FA method for signing in to the Member Portal, you must configure it first. Use the following information to configure your preferences:
Code via Email: Select this option to receive the 2FA code in your authorized email account. By default, email is set as your default 2FA method.
Code from App: Select this option to authenticate using a code from your authenticator app. You must register an authenticator app with to set it as your default 2FA method. To register your authenticator app, follow these steps:
In Default 2FA Method, click Configure for Code from App.
Open the authenticator app on your mobile device and select the option to add an account.
Scan the QR code or manually enter the application URL and security key that are displayed on the configuration page to create an account. The authenticator app provides a six-digit code.
Enter the code, and click Verify.
Note
If App authentication is your preferred 2FA method, download recovery codes during registration. This ensures you can sign in even if you lose your credentials. If you lose the recovery codes and cannot sign in, contact the administrator to reset App authentication.
Code via Text/SMS: Select this option to receive the 2FA code on your phone. To configure this method, enter your country code and contact number in the Primary Details section.
Note
Administrators in the Analyst Portal can select one or more 2FA methods (Email, App, SMS) for member sign-ins, which are subsequently available in Profile Settings. If you haven't configured the available methods, your default 2FA method will be Code via Email. If administrators update the available options and they differ from your current preference, your default 2FA method will revert to Code via Email.
Manage Email Subscription
Manage your email subscription preferences by subscribing or unsubscribing from email notifications for selected modules. Use this setting to track and monitor information from your preferred modules.
Steps
To manage your email subscription, follow these steps:
Go to User Profile > Profile Settings.
In Email Subscription, click Manage.
Turn on the toggle for the following features if you want to receive email notifications for them:
Actions
Alerts
Collaboration
Daily Alerts Report
Daily IR Report
Intel
RFI
Survey
Turn on the All toggle to simultaneously update your preference for all the modules.
Note
You will continue to receive email notifications for invites, OTPs, or password updates.
Add Primary Details
View and manage your personal information such as name, title, address, email, zip code, phone number, city, state, and country.
View all public and invite-only groups you are part of. To join public recipient groups, click Change and select the groups you want to be part of. After joining, you will start receiving alerts when the recipient group is added to an alert.
View details of external links that you are associated with.
Note
If there are more fields that have been configured for the Member Portal, you see them in a section called Additional Details. Additional details could be Joining Date, Bio, and similar details. The field name and type can be configured in the Analyst Portal.
View Summary of your Activities
Your user profile shows you a quick summary of your activities related to alerts and surveys in the Member Portal. The short summary gives you an overall picture and some statistics on important aspects.
Alerts Activity Overview: View statistics on details such as the total number of alerts received, the number of alerts read, and the number of alerts left unread.
Survey Activity Overview: View statistics on total surveys received, number of surveys attempted, and number of skipped surveys.
Sign in using QR Code
As a member, you can use a quick response (QR) code from the Member Portal (web) to log in to the Cyware Enterprise (mobile) app. The QR code displayed in the Member Portal is a dynamic code that stores important information such as the access code, username, and authentication. Cyware Enterprise app users can use the QR code option on the login screen to quickly scan a code to authenticate and access the mobile app features.
Steps
To sign in using a QR code, follow these steps:
Sign in to the Member Portal and go to User Profile > QR Code Login. A dynamic QR code is displayed.
Open the Cyware Enterprise app, and in the login screen, tap QR CODE.
Scan the dynamic QR code displayed in the Member Portal. You are automatically signed in to Cyware Enterprise.
Change your Password
To change your password for the Member Portal, follow these steps:
Go to User Profile > Change Password.
Change your password based on the guidelines, and click Update.
Note
Based on password policies configured for the Member Portal, you get an email to reset your password after certain time intervals. These policies are configured in the Analyst Portal.